As an Amazon Associate, we earn from qualifying purchases. Some links on this site are affiliate links at no extra cost to you. Our recommendations are based on thorough research and editorial judgment.

How To Calibrate A Garden Sprayer For Roses?
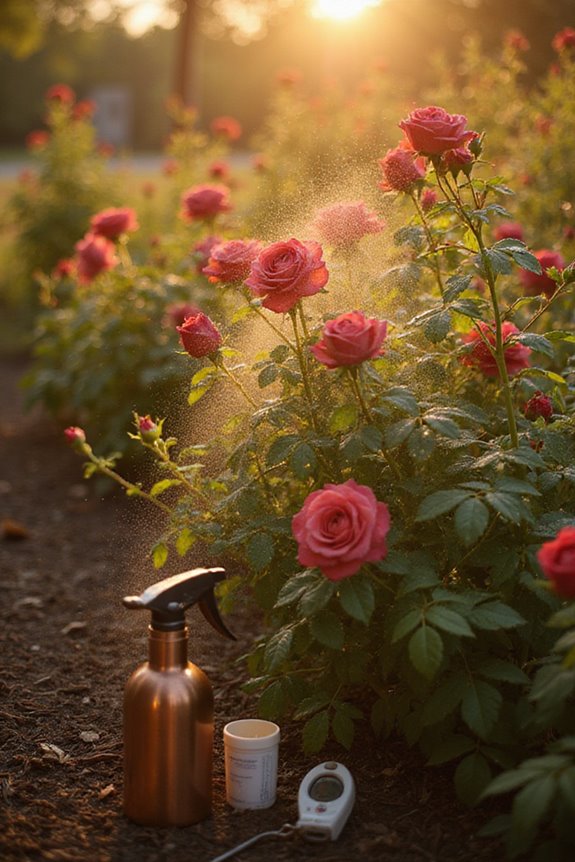
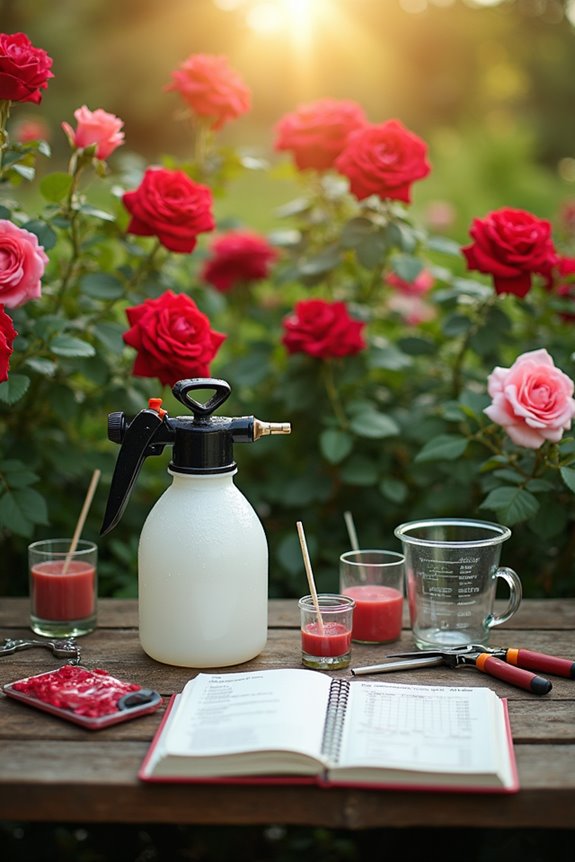
To calibrate our garden sprayer for roses, we first measure the area of our lovely blooms! Next, we check the sprayer’s flow rate by capturing the output for one minute—aim for consistent results. Adjust the spray pressure, ideally between 150-300 psi, and select nozzles that suit our plants, like hollow cone designs. Don’t forget to mix nutrients as per label instructions! With a verification check on spray patterns, we’re on our way to thriving roses! Stay tuned for tips on special considerations!
Key Takeaways
- Measure your sprayer’s flow rate by filling a container for one minute to establish a baseline for calibration.
- Adjust the spray pressure between 150-300 psi to optimize output for effective nutrient application to roses.
- Select appropriate nozzles, preferably hollow cone types, and space them about 50 cm apart for uniform coverage.
- Conduct spray pattern tests on flat surfaces to ensure even distribution and make necessary adjustments if needed.
- Keep a calibration log to track adjustments and flow rates for future reference and improved accuracy.
Measure the Area of Your Rose Garden
You may be interested


When we think about our beloved rose garden, measuring its area might not be the most exciting task, yet it’s absolutely crucial for effective sprayer calibration! First, let’s outline the garden boundaries using landmarks or fences. For complex shapes, we can simplify by breaking them into rectangles or triangles. Using reliable measuring tools like a tape measure or measuring wheel, let’s get those dimensions down—double-checking to avoid errors! We’ll document each segment clearly, labeling them for reference. Once we’ve got all measurements, we can convert to consistent units and calculate areas for each section. With this information, we’ll create a thoughtful garden layout that guarantees our roses receive the precise care they deserve. Additionally, keeping track of pruning frequency ensures that we maintain healthy growth and blooms in our rose garden. Happy measuring!
Determine Spray Volume and Output Rate

To guarantee our roses thrive beautifully, we need to accurately determine the spray volume and output rate of our garden sprayer! First, let’s measure our sprayer’s flow rate by using a container and stopwatch. We’ll capture the volume over one minute, ensuring flow consistency by checking each nozzle’s output. If there’s a considerable difference, we may need to clean or replace those nozzles. We should also remember that pressure adjustments can dramatically affect our output rate—doubling pressure remarkably ramps up our flow! Finally, calculating our spray volume per area lets us apply just the right amount of nutrients or pesticides. Keeping track of regular garden monitoring is essential to understand pest pressure and optimize our application. Let’s embrace our green thumbs and make our roses shine with confidence! Happy spritzing!
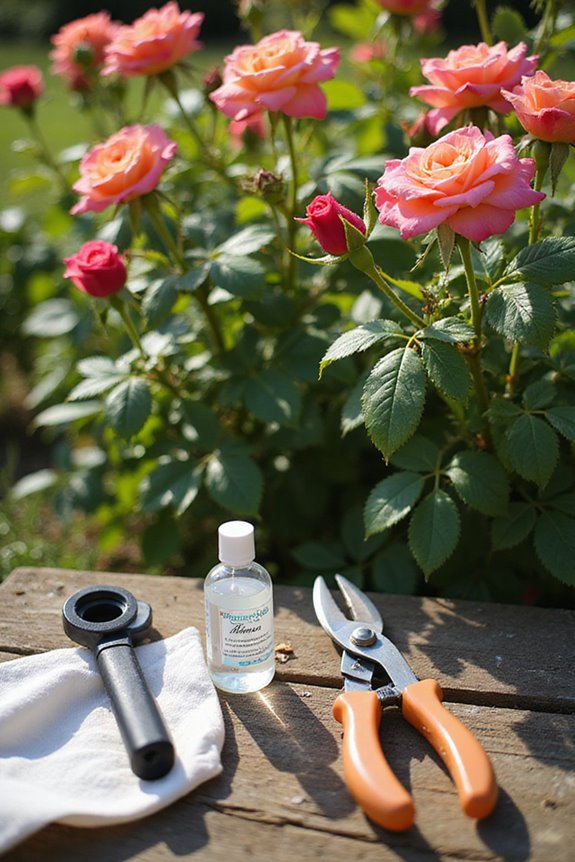
Adjust Sprayer Settings for Correct Application

With our spray volume and output rate determined, we’re ready to fine-tune our sprayer settings for the best possible application! First, we’ll adjust the spray pressure, aiming for a range of 150-300 psi, ensuring we hit that sweet spot for droplet size and coverage. Lower pressure helps minimize drift, while higher pressure can increase flow, so careful control is key! Next, let’s talk nozzle selection. Hollow cone nozzles like D3D45 or D4D45 are perfect for our lush rose canopies, delivering excellent coverage. Space them about 50 cm apart and adjust their height and angle to reach every leaf surface! Regularly check for clogs too—nothing should get between us and our blooming beauties! Additionally, using an ergonomic sprayer design can enhance comfort during prolonged application, promoting ease of use while managing chemical compatibility effectively. Happy spraying!
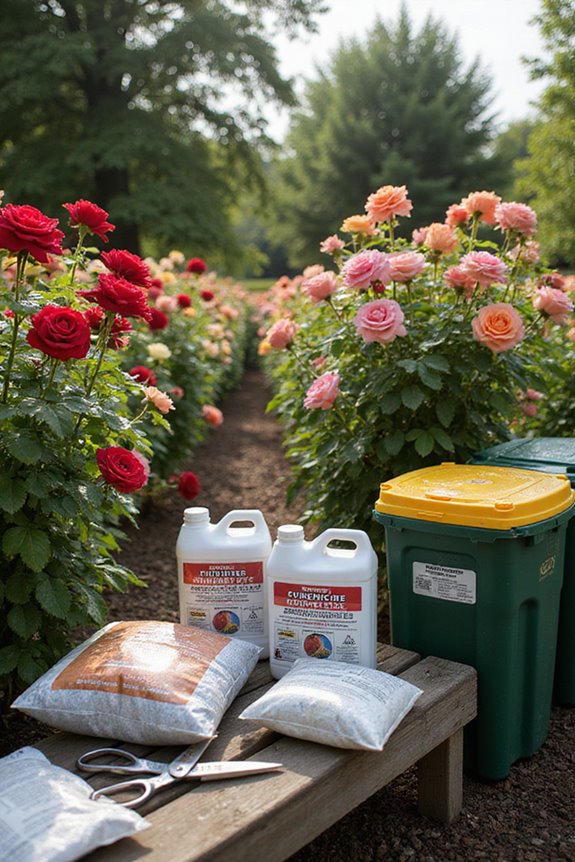
Calculate Dilution and Chemical Mixing

As we plunge into the world of dilution and chemical mixing, it’s vital to get our measurements just right for those blossoming beauties in our gardens! To start, we need to follow the product label closely. For instance, Bayer Advanced requires 2 fl. oz. per rose or 12 sq. ft.! And remember, using calibrated tools guarantees mixing accuracy—no guesswork here! When mixing, always add water first, then chemical concentrate. This not only aids chemical safety but prevents foaming! Need more for a larger area? Just scale up proportionally. For miniatures, treat them as 0.33–0.5 of a full-size plant. Additionally, application frequency ensures that we maintain pest control effectiveness over time. With careful measuring, we can protect our roses and enjoy their vibrant blooms—let’s get mixing!
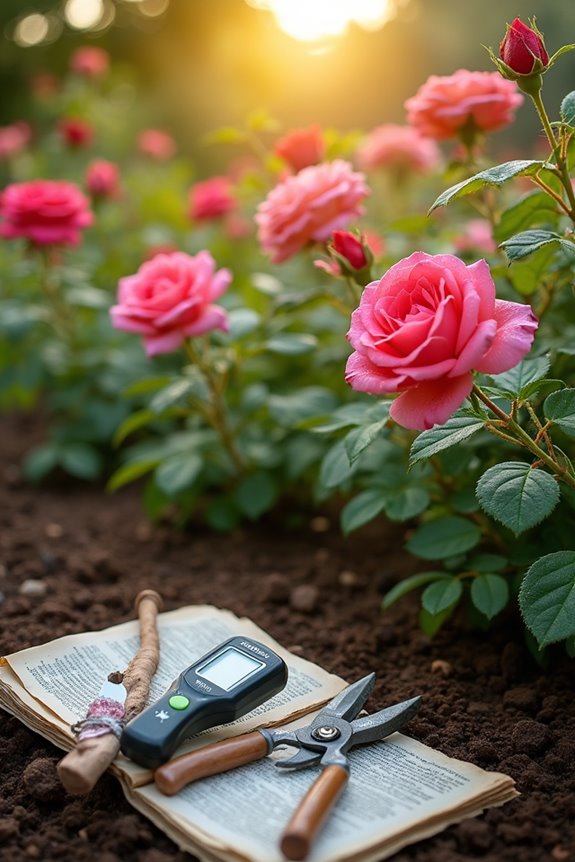
Perform Calibration Testing and Verification

Once we’ve got our dilution and mixing down pat, it’s time to put our sprayer to the test! First, we’ll check the water volume output by spraying into a container for a minute. This gives us our flow rate. Next, let’s conduct a spray pattern test on a flat surface to evaluate our spray coverage; we need to guarantee even distribution without any heavy spots! Pay attention to nozzle maintenance—this is key! If we notice any issues, adjust the nozzle angle or pressure, or replace it entirely. Finally, document everything, from flow rates to pressure adjustments. Keeping a calibration log helps us maintain accuracy, leading to beautiful roses! Additionally, remember that adjustable nozzles in sprayers enhance precision and are crucial for achieving the best results. Let’s get those sprayers ready!
Special Considerations for Roses
When it comes to caring for our cherished roses, special considerations during the sprayer calibration process can make all the difference! Roses are sensitive plants, so let’s ascertain we calibrate our sprayer precisely. For example, when using Bayer Advanced All-In-One Rose & Flower Care, we need to mix 2 fl. oz. per quart of water, applying it directly to soil rather than foliage. Timing is key! Spray when the soil’s dry and avoid rainy days for maximum efficacy. Also, keep in mind the environmental impact—efficient calibration protects not only our roses but the surrounding flora. Selecting the right sprayer can make our tasks easier and more effective. Together, let’s nurture those stunning blooms with love and care!
Frequently Asked Questions
How Often Should I Recalibrate My Sprayer?
We should recalibrate our sprayer frequently—ideally at least every four applications or when making sprayer adjustments. Regular checks guarantee peak performance, maintaining accurate calibration frequency for our intended applications and reliable results in our gardens.
What Type of Water Should I Use for Mixing?
When we mix, let’s use clean, fresh water, avoiding contaminants. Good water quality is key for proper mixing ratios, ensuring the effectiveness of our solutions. Remember, even a tiny fishbowl needs clear water to thrive!
Can I Use the Sprayer for Other Plants?
Yes, we can use the sprayer for multiple plants, but we need to adjust settings for maximum garden efficiency. Thoroughly cleaning the sprayer between uses guarantees we avoid harmful chemical residues affecting our plants.
How Do I Store Leftover Pesticide Solutions?
To store leftover pesticide solutions, we should prioritize proper sealing and labeling for pesticide longevity, while ensuring safe remainder disposal. Let’s keep them out of reach, in cool, dry places, avoiding containers resembling food.
Are There Specific Times to Avoid Spraying Roses?
We should avoid spraying roses during high heat, direct sunlight, or windy weather conditions. Also, let’s steer clear of spraying when pest activity is low to maximize effectiveness and guarantee plant health.