As an Amazon Associate, we earn from qualifying purchases. Some links on this site are affiliate links at no extra cost to you. Our recommendations are based on thorough research and editorial judgment.

How To Replace Pruner Blades Safely?
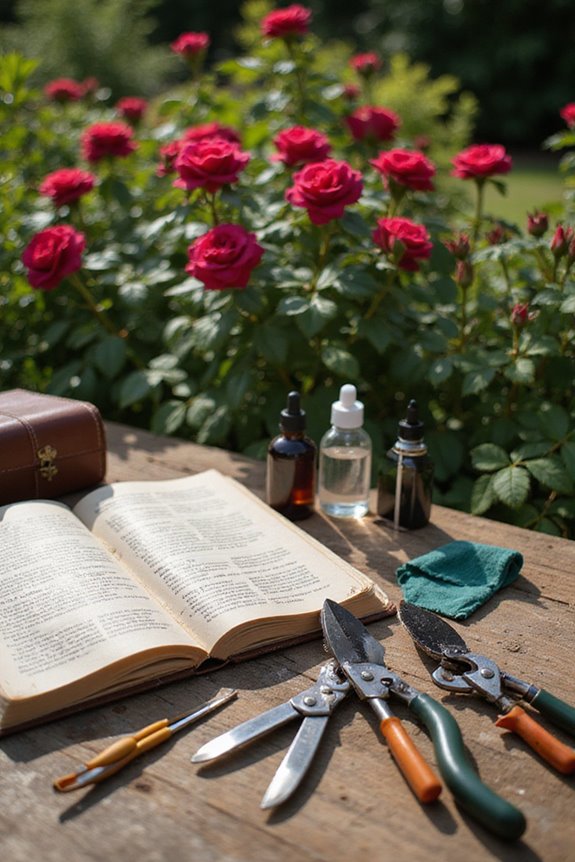
To replace pruner blades safely, we gather our tools and prep our workspace! We clean our area, wear heavy-duty gloves and safety glasses, and power down the pruner. Next, we use the right wrenches to remove old fasteners. Once we install the new blade—aligning correctly and tightening bolts—let’s apply some lubricant to keep things smooth. After a quick inspection for any chips and a good cleaning, our pruners will be ready for action! And there’s even more to explore!
Key Takeaways
- Ensure a clean and well-lit workspace free from distractions and accidents before starting the blade replacement process.
- Wear heavy-duty cut-resistant gloves and safety glasses to protect yourself from sharp edges during the procedure.
- Power down the pruner and use appropriate tools like socket and Allen wrenches to safely remove the old blade.
- Align the new blade accurately with the alignment pins and secure it with bolts, applying lubrication to reduce friction.
- Inspect the replaced blade for damage and clean tools thoroughly, applying oil to prevent rust and ensure smooth operation.
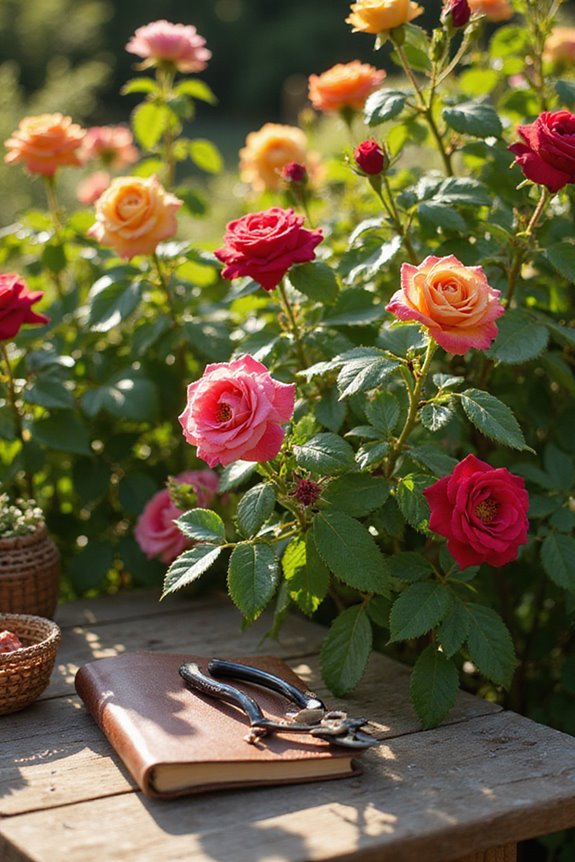
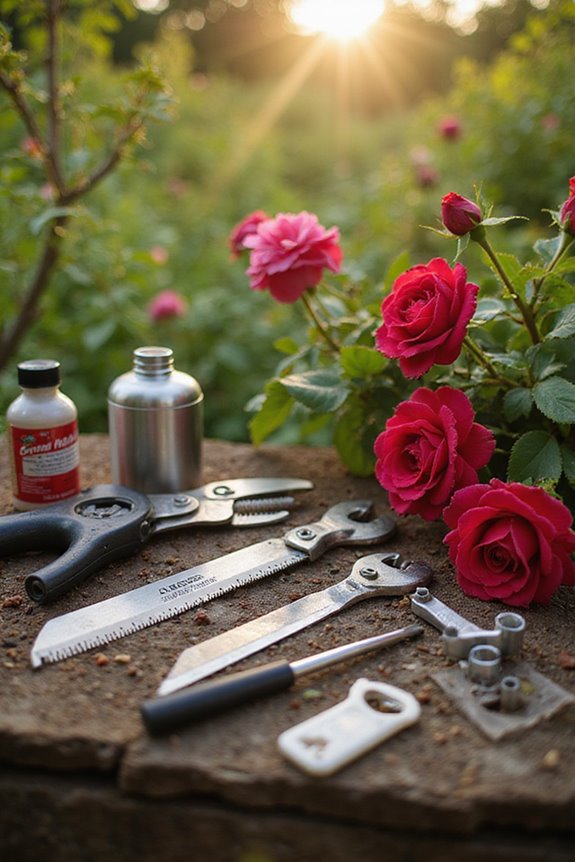
Preparation and Safety Measures
You may be interested


Before we plunge into replacing those pruner blades, let’s take a moment to set ourselves up for success! A clean, well-lit workspace is key for reducing accidents while improving visibility. Let’s use a sturdy table, keeping pets and kids safely away, so we can focus on the task at hand. And don’t forget about safety equipment! Heavy-duty cut-resistant gloves protect our hands from those sharp edges, while safety glasses shield our eyes from flying debris. Wearing non-skid, closed-toe shoes keeps us stable as we work. We should check our pruner’s condition too—make sure it’s not in operation before we immerse ourselves! With just a little prep, we’re ready to tackle those blades with confidence! Additionally, wearing premium cowhide leather gloves provides excellent thorn protection against unexpected cuts and scrapes during the process.
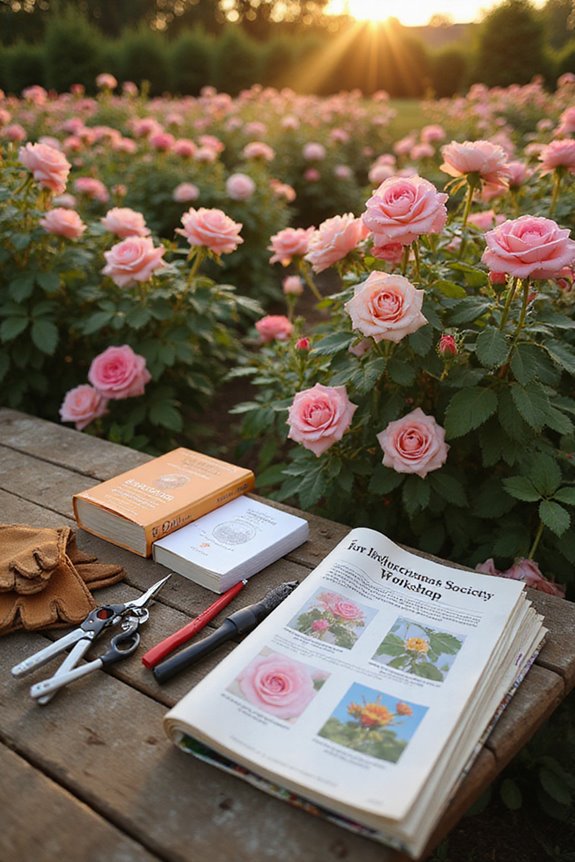
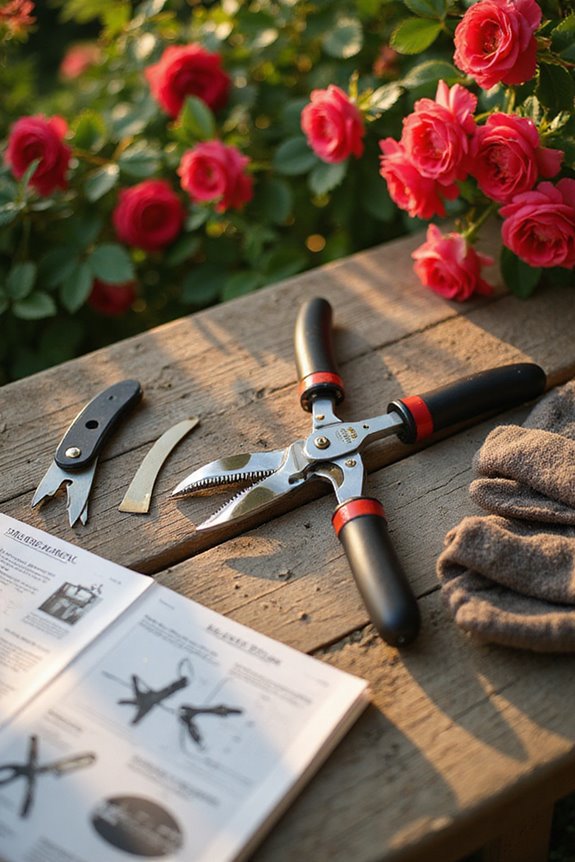
Tools Required for Blade Replacement
With our workspace set up and safety measures in place, it’s time to gather the tools we’ll need for replacing pruner blades! First off, we’ll need essential tools like a socket wrench, typically in sizes 5/8″ and 9/16″, so check your equipment manual! An Allen wrench, often a 5 mm, may be necessary for specific models. Don’t forget clamps or blocks of wood to hold that blade steady while we work!
We should also have gloves on hand to shield our fingers from sharp edges and a towel or rag for some cleaning action. Finally, let’s stock up on maintenance supplies—like lubricants to smooth out those stubborn bolts—and we’ll be ready to get trimming! Additionally, wearing ergonomic gloves can enhance comfort during the process. Happy gardening!
Recommended Products

At full capacity, this battery will last a full 12 hours and will complete more than 15, 000 cuts on 1. 5-inch/35mm branches. This pruner is super light weighing in at 1. 9-pounds/0. 9kg

Cuts upto 40 Sheets: Delivers maximum cutting capacity without compromising on accuracy or control, ideal for bulk trimming.

12-Pack, 13.5-inch (350mm) straight edge saw blade
Blade Removal Process
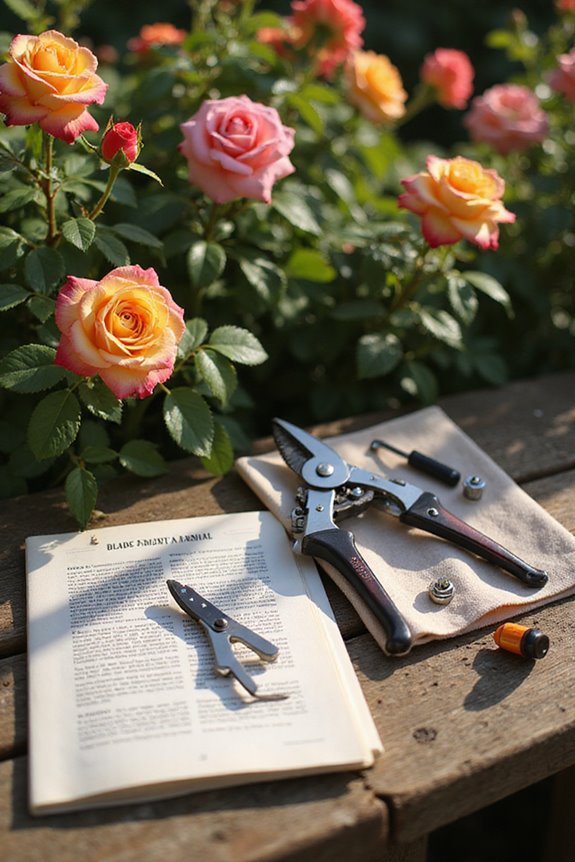
Let’s plunge into the blade removal process, where the real transformation begins! First, we’ll power down the pruner—safety’s our priority. Next, let’s don our protective gloves and clean our tools; a tidy workspace will help immensely!
Now, we’ll get to work on loosening and removing the fasteners. Using the right screwdriver, we’ll gently ease the screws free, staying vigilant for blade compatibility. We’ve got to keep track of each fastener to make reassembly smoother! As we detach the blade, we may tap with a mallet if needed, remembering to remove any associated components carefully. It’s important to ensure that you store your tools in a dry place to prevent corrosion and damage, just like we must do with soil testers to maintain their longevity.
Finally, let’s organize everything neatly—we want to guarantee nothing’s lost before we embrace the new blade! Happy gardening awaits us!
Installing the New Blade
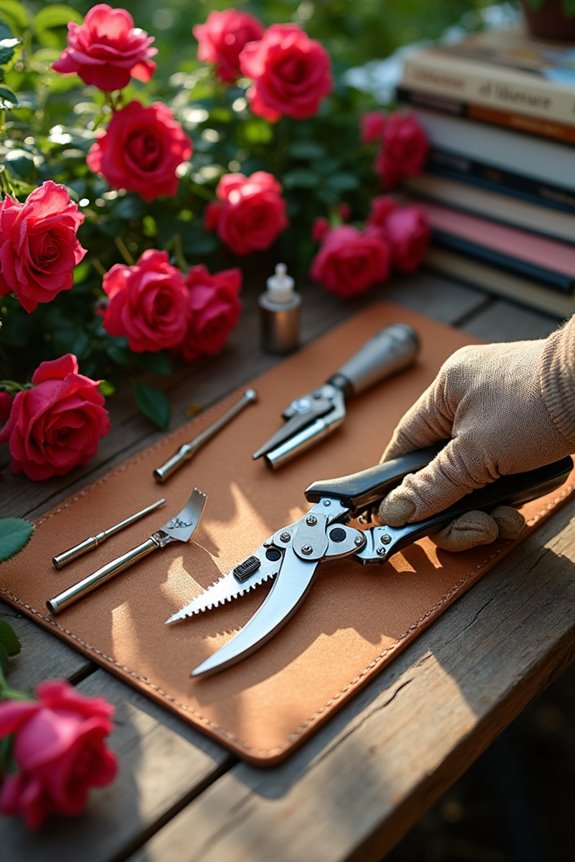
Installing the new blade is where the magic truly happens! Let’s explore blade alignment first—make sure the new blade fits snugly against the alignment pins! If those pins are worn, replace them for a perfect fit. We’ll want to position the blade flush against the handle, ensuring no gaps. Next, we’ll secure the blade with bolts, tightening just enough without overdoing it; we want the blade responsive, not rigid. Now’s the time to apply our favorite lubrication techniques! A little lubricant on the pivot area reduces friction, enhances performance, and wards off rust. Remember to wipe off excess—dirt hates clean tools! With everything in place, we’re one step closer to seamless pruning sessions, as high-quality materials like SK-5 or titanium steel significantly contribute to the durability of your tools!
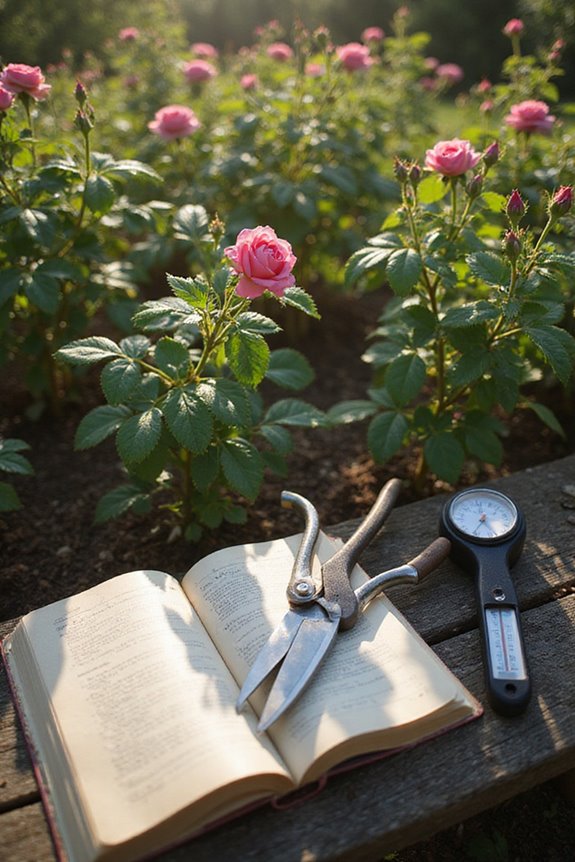
Post-Replacement Checks and Maintenance
After securing that new blade, we’re ready to give our pruners the care they deserve! Let’s jump into our post-replacement inspection. First, we’ll check the blades for chips or cracks—no one wants to damage their plants! For cleaning procedures, we should remove any sap and debris using rubbing alcohol or hydrogen peroxide. Warm, soapy water will work wonders if we disassemble the parts for a deeper clean. Next, let’s apply a light coat of vegetable oil to prevent rust and help our pruners glide smoothly. Remember that regular cleaning and oiling is crucial for prolonging the lifespan of our tools. Finally, we must guarantee everything is dry before reassembly, keeping those blades sharp and ready for action! With a little care, our pruners will stay in tip-top shape for all our gardening adventures!
Recommended Products

The all in 1 trimmer for your choice of beard, head, body, and/or face hair styling with 23 pieces for all your trimming needs

Fully forged universal model for correction

Palm nitrile coating over four different colored nylon liners (Color will vary)
Additional Safety Tips
When handling pruners, especially during blade replacement, safety should be our top priority! Let’s gear up with some essential personal protective equipment: sturdy gloves protect our hands from sharp edges, while safety goggles shield our eyes from flying debris. Remember, we want to avoid loose clothing or jewelry that could snag, and closed-toe shoes are a must!
Organizing our workspace is crucial too; a clean, well-lit environment enhances our injury prevention efforts. Don’t forget to disconnect any power sources we’re using. In case of an emergency, let’s have procedures in place to respond swiftly! By taking these extra precautions, we can enjoy gardening with peace of mind and keep those pruner blades sharp and effective! Let’s dig in safely!
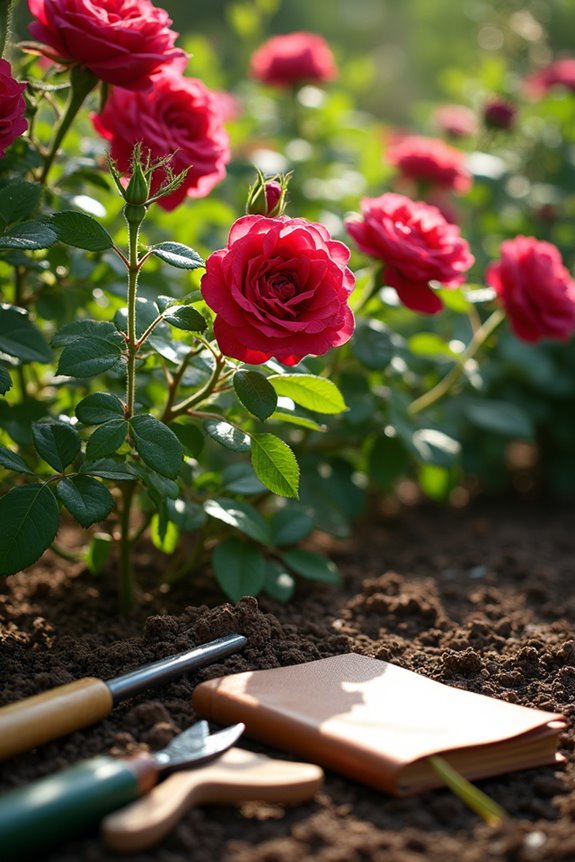
Proper Blade Storage Techniques
Storing our pruner blades properly is like giving them a cozy home that keeps them sharp and ready for action! To guarantee effective blade organization, we should always use protective covers or sleeves. These handy tools shield our blades from damage, preventing dulling or chipping. It’s best to store blades upright or hung individually, minimizing contact and avoiding blunt impacts. We can invest in magazine-style racks or sleek slide-out boxes to keep our collection tidy and dust-free. For a DIY option, constructing wooden frames with finger holes makes removal a breeze! Let’s embrace these storage solutions; they not only protect our tools but also make our garden workspace as delightful as our blossoming plants!
Regular Maintenance Practices
Caring for our pruner blades regularly is essential if we want to keep our cutting tools in top shape for that meticulous garden work we love! To guarantee blade durability and performance, let’s clean our blades often—remove sap, dirt, and rust using steel wool or brushes, focusing on those cutting edges. A quick rinse and a wipe with rubbing alcohol will keep bacteria at bay.
Don’t forget to lubricate! A light coating of vegetable oil after cleaning can prevent rust. As we sharpen, aim for those clean cuts by using files or dedicated sharpeners—dull blades invite pests! Seasonal maintenance is key; deep clean and inspect each part. Let’s commit to this maintenance frequency for flourishing gardens and happy, healthy plants!
Frequently Asked Questions
How Often Should I Replace My Pruner Blades?
We should replace our pruner blades when wear is noticeable, typically every 6-12 months. By practicing good pruner maintenance tips and considering blade longevity factors, we can guarantee peak performance and safe cutting.
Can I Sharpen Old Blades Instead of Replacing Them?
Yes, we can sharpen old blades instead of replacing them. By using proper sharpening techniques and focusing on blade maintenance, we’ll restore cutting efficiency, extending their lifespan while ensuring safe and effective performance.
What Materials Are Pruner Blades Made From?
Pruner blades are crafted from various materials, like high carbon steel and tool steels, akin to a chef’s knife in a kitchen. Understanding these blade materials helps us appreciate their importance in pruner manufacturing and performance.
Is There a Warranty on Replacement Blades?
Yes, there’s often warranty coverage on replacement blades. We should check manufacturer policies, as terms vary. By using authorized parts and following guidelines, we can maintain our warranty and guarantee our tools last.
Can I Replace Blades on Electric Pruners Myself?
Yes, we can replace blades on electric pruners ourselves, but we must observe safety precautions and follow maintenance tips to guarantee a smooth process. Proper cleaning and lubrication will enhance longevity and performance of our tools.